• Portfolio
  • Aviation
  • Blog
  • About
Menu

David S Miller

  • Portfolio
  • Aviation
  • Blog
  • About
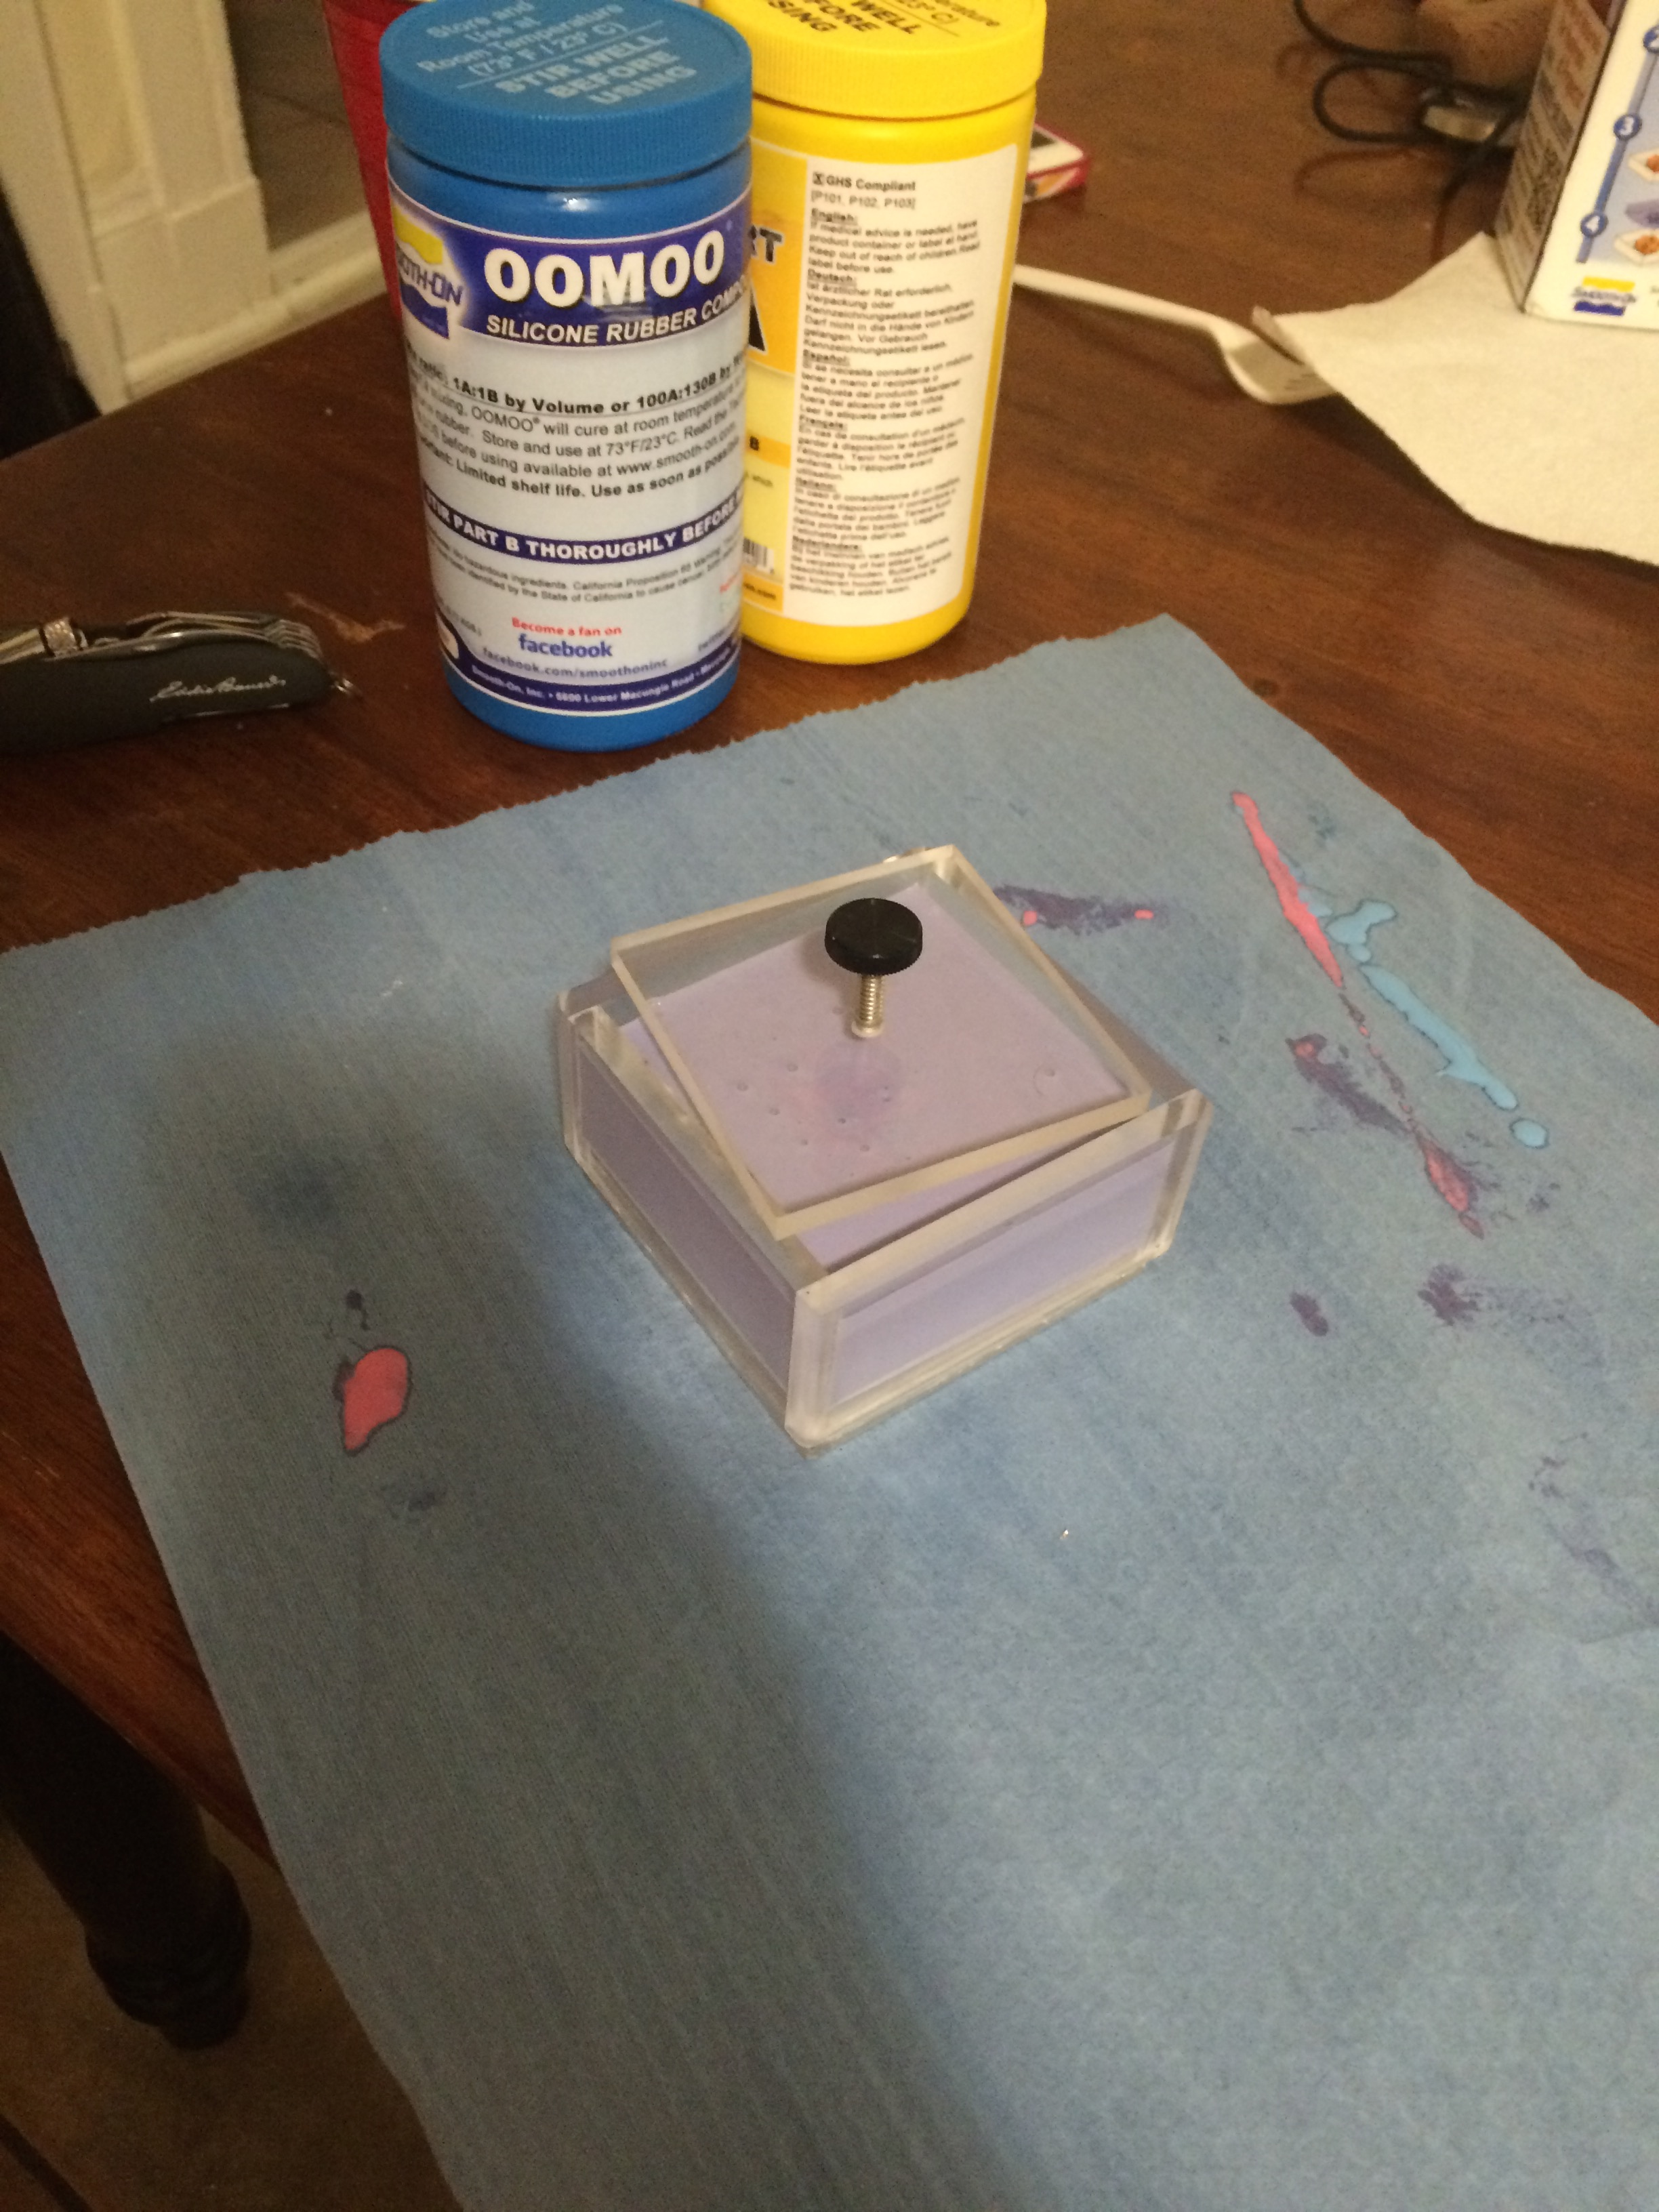
 The finished mold

The finished mold

 Materials

Materials

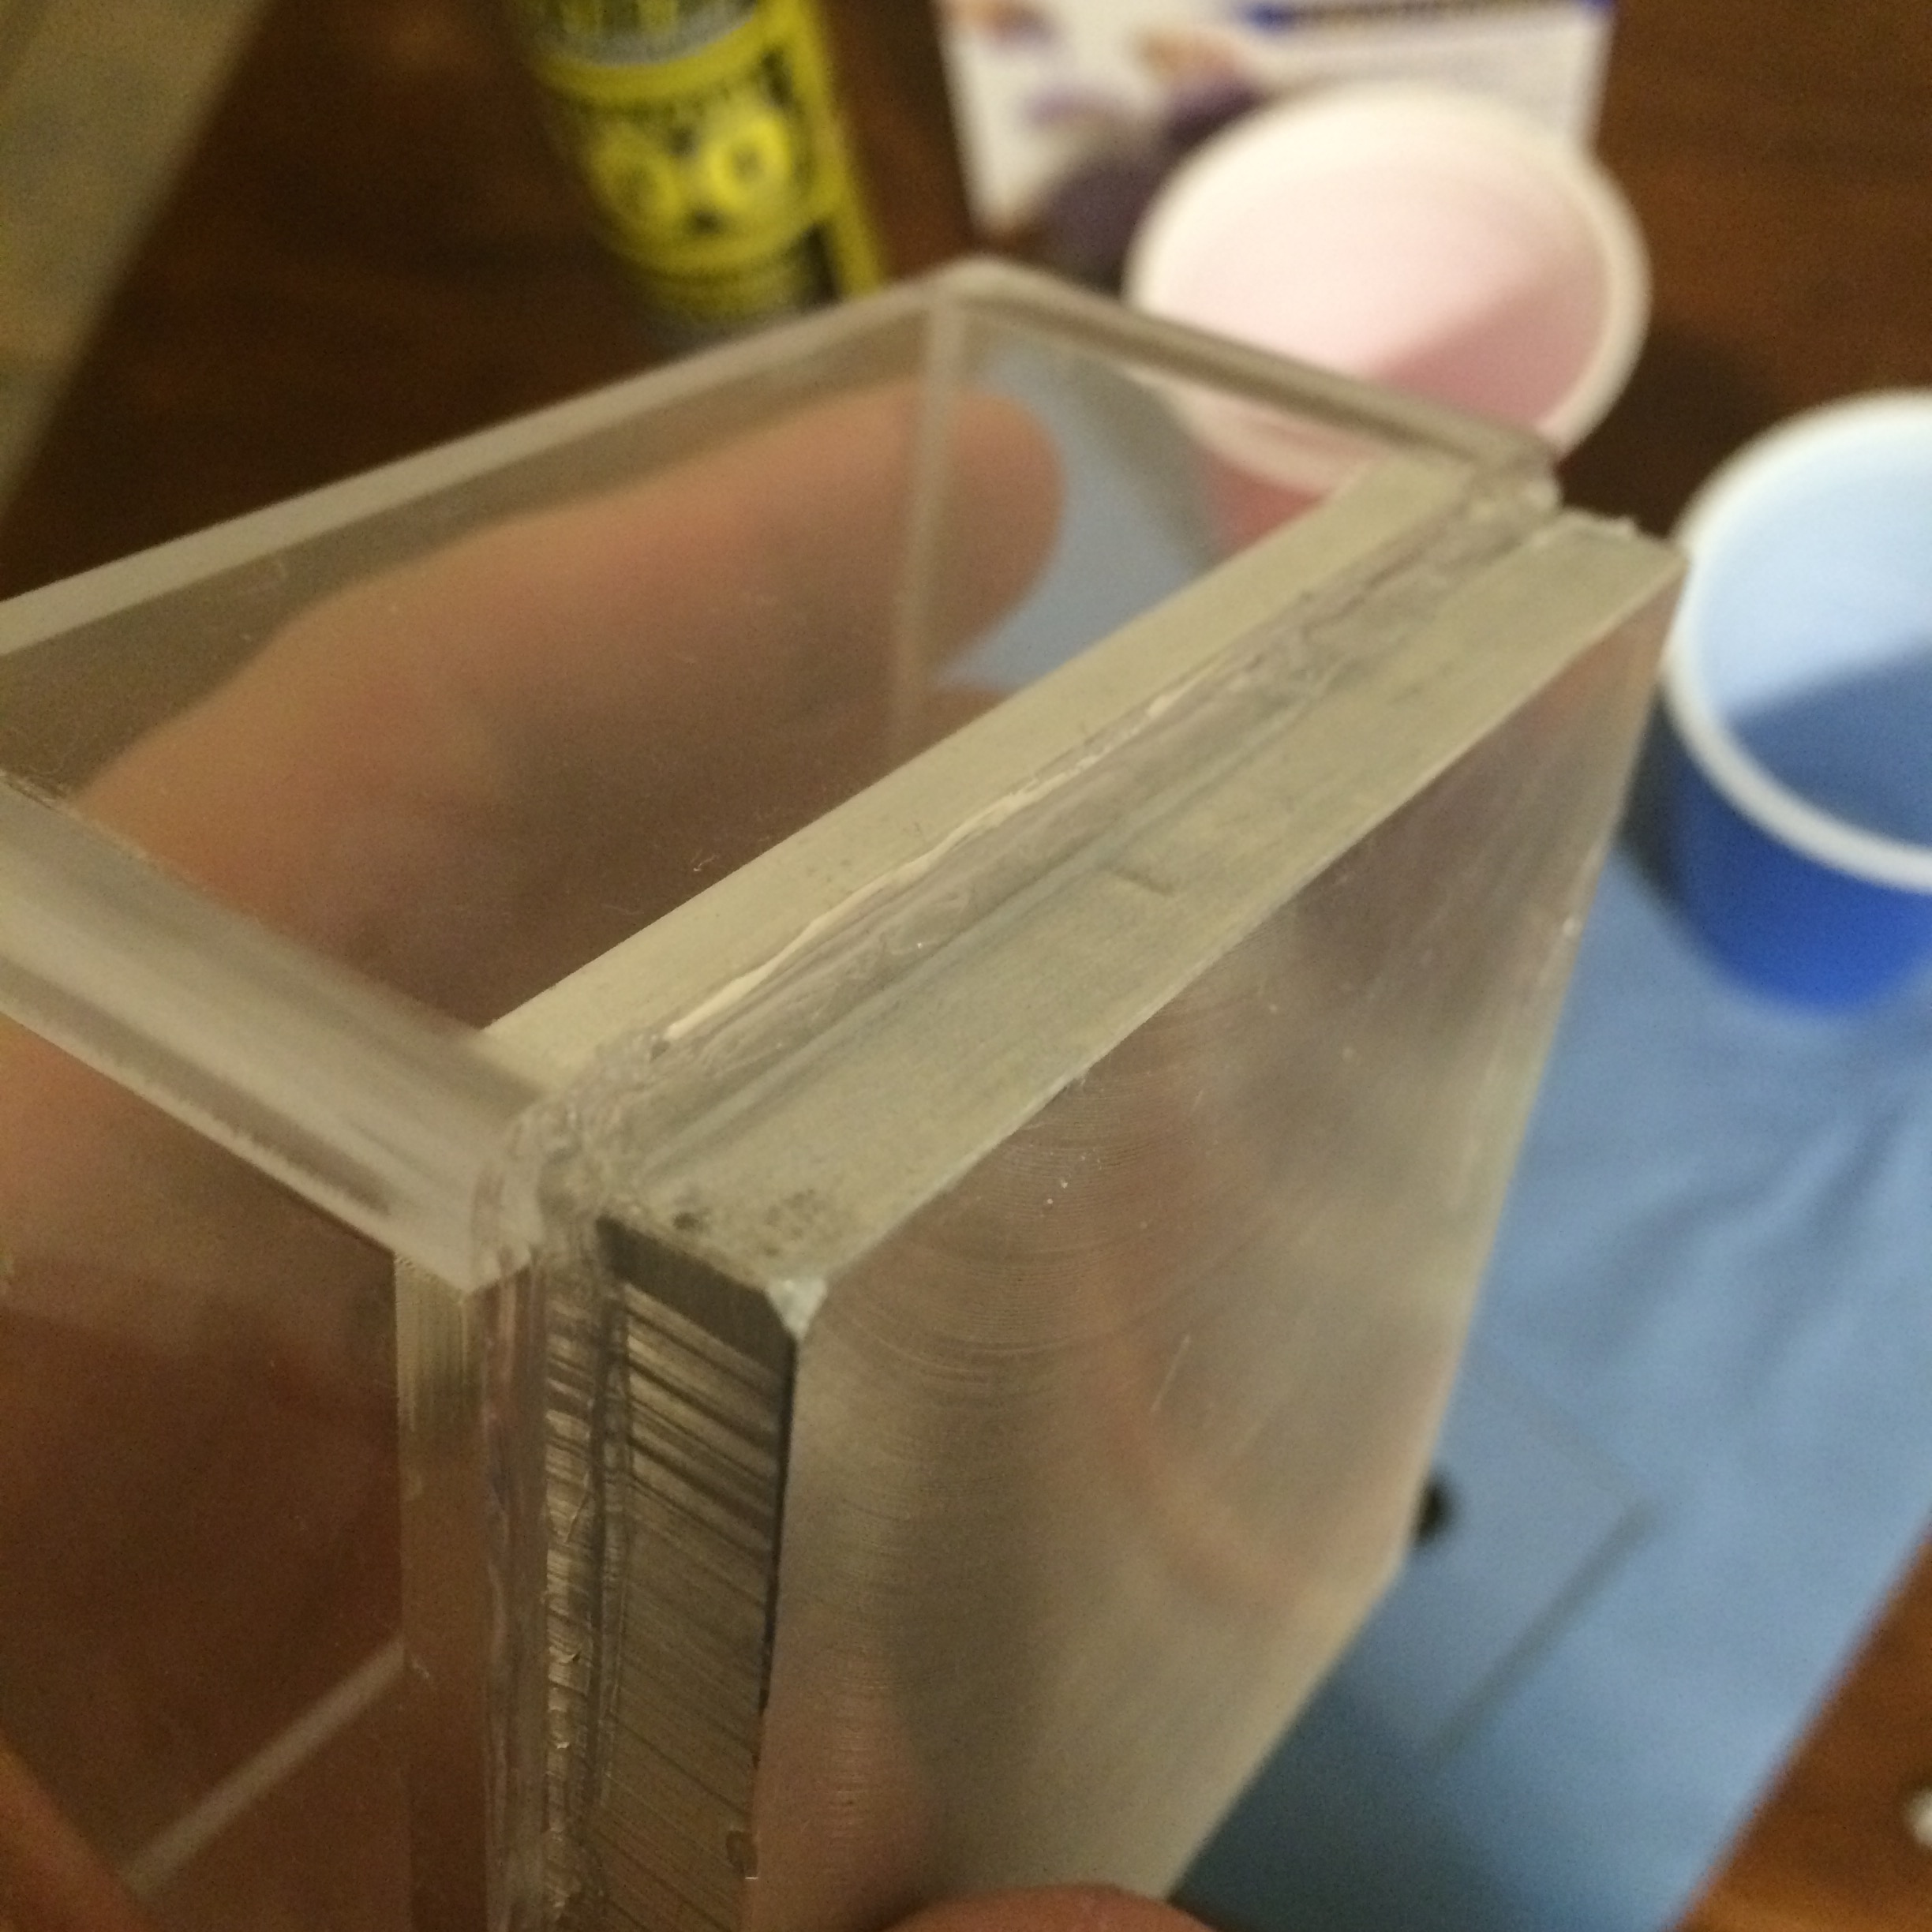
 I used hot glue to seal the mold cavity

I used hot glue to seal the mold cavity

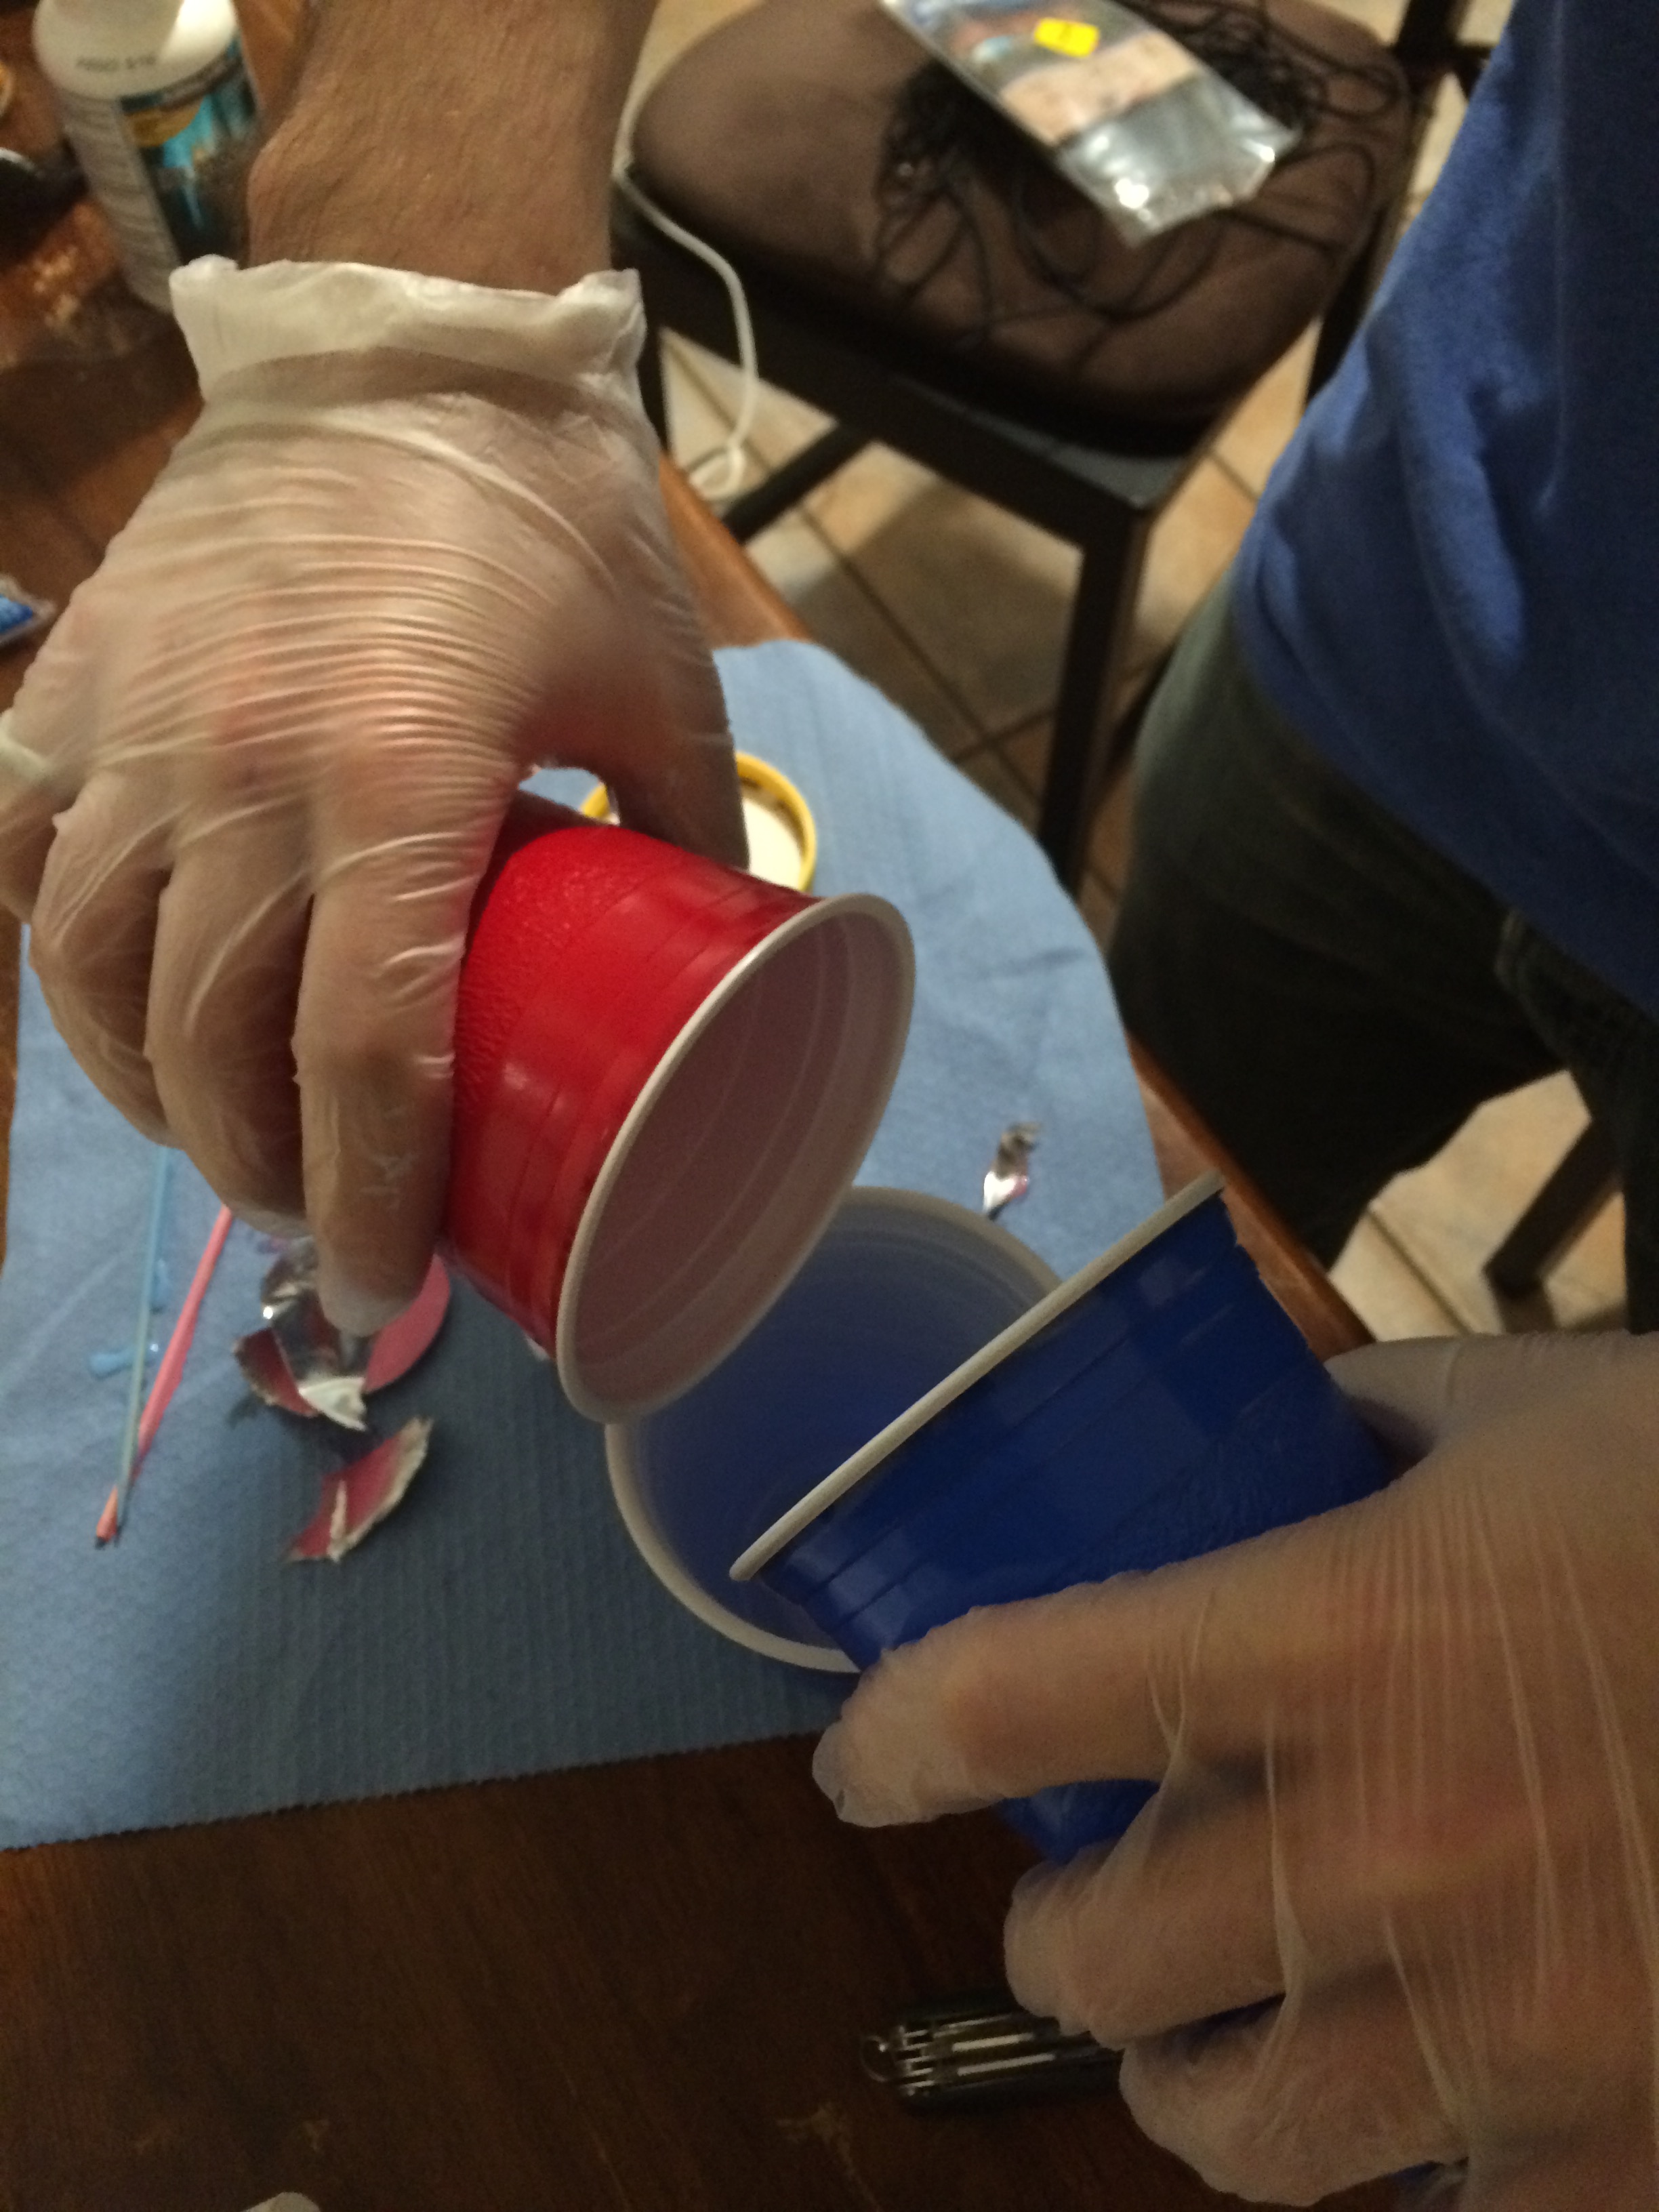
 Mixing the media

Mixing the media

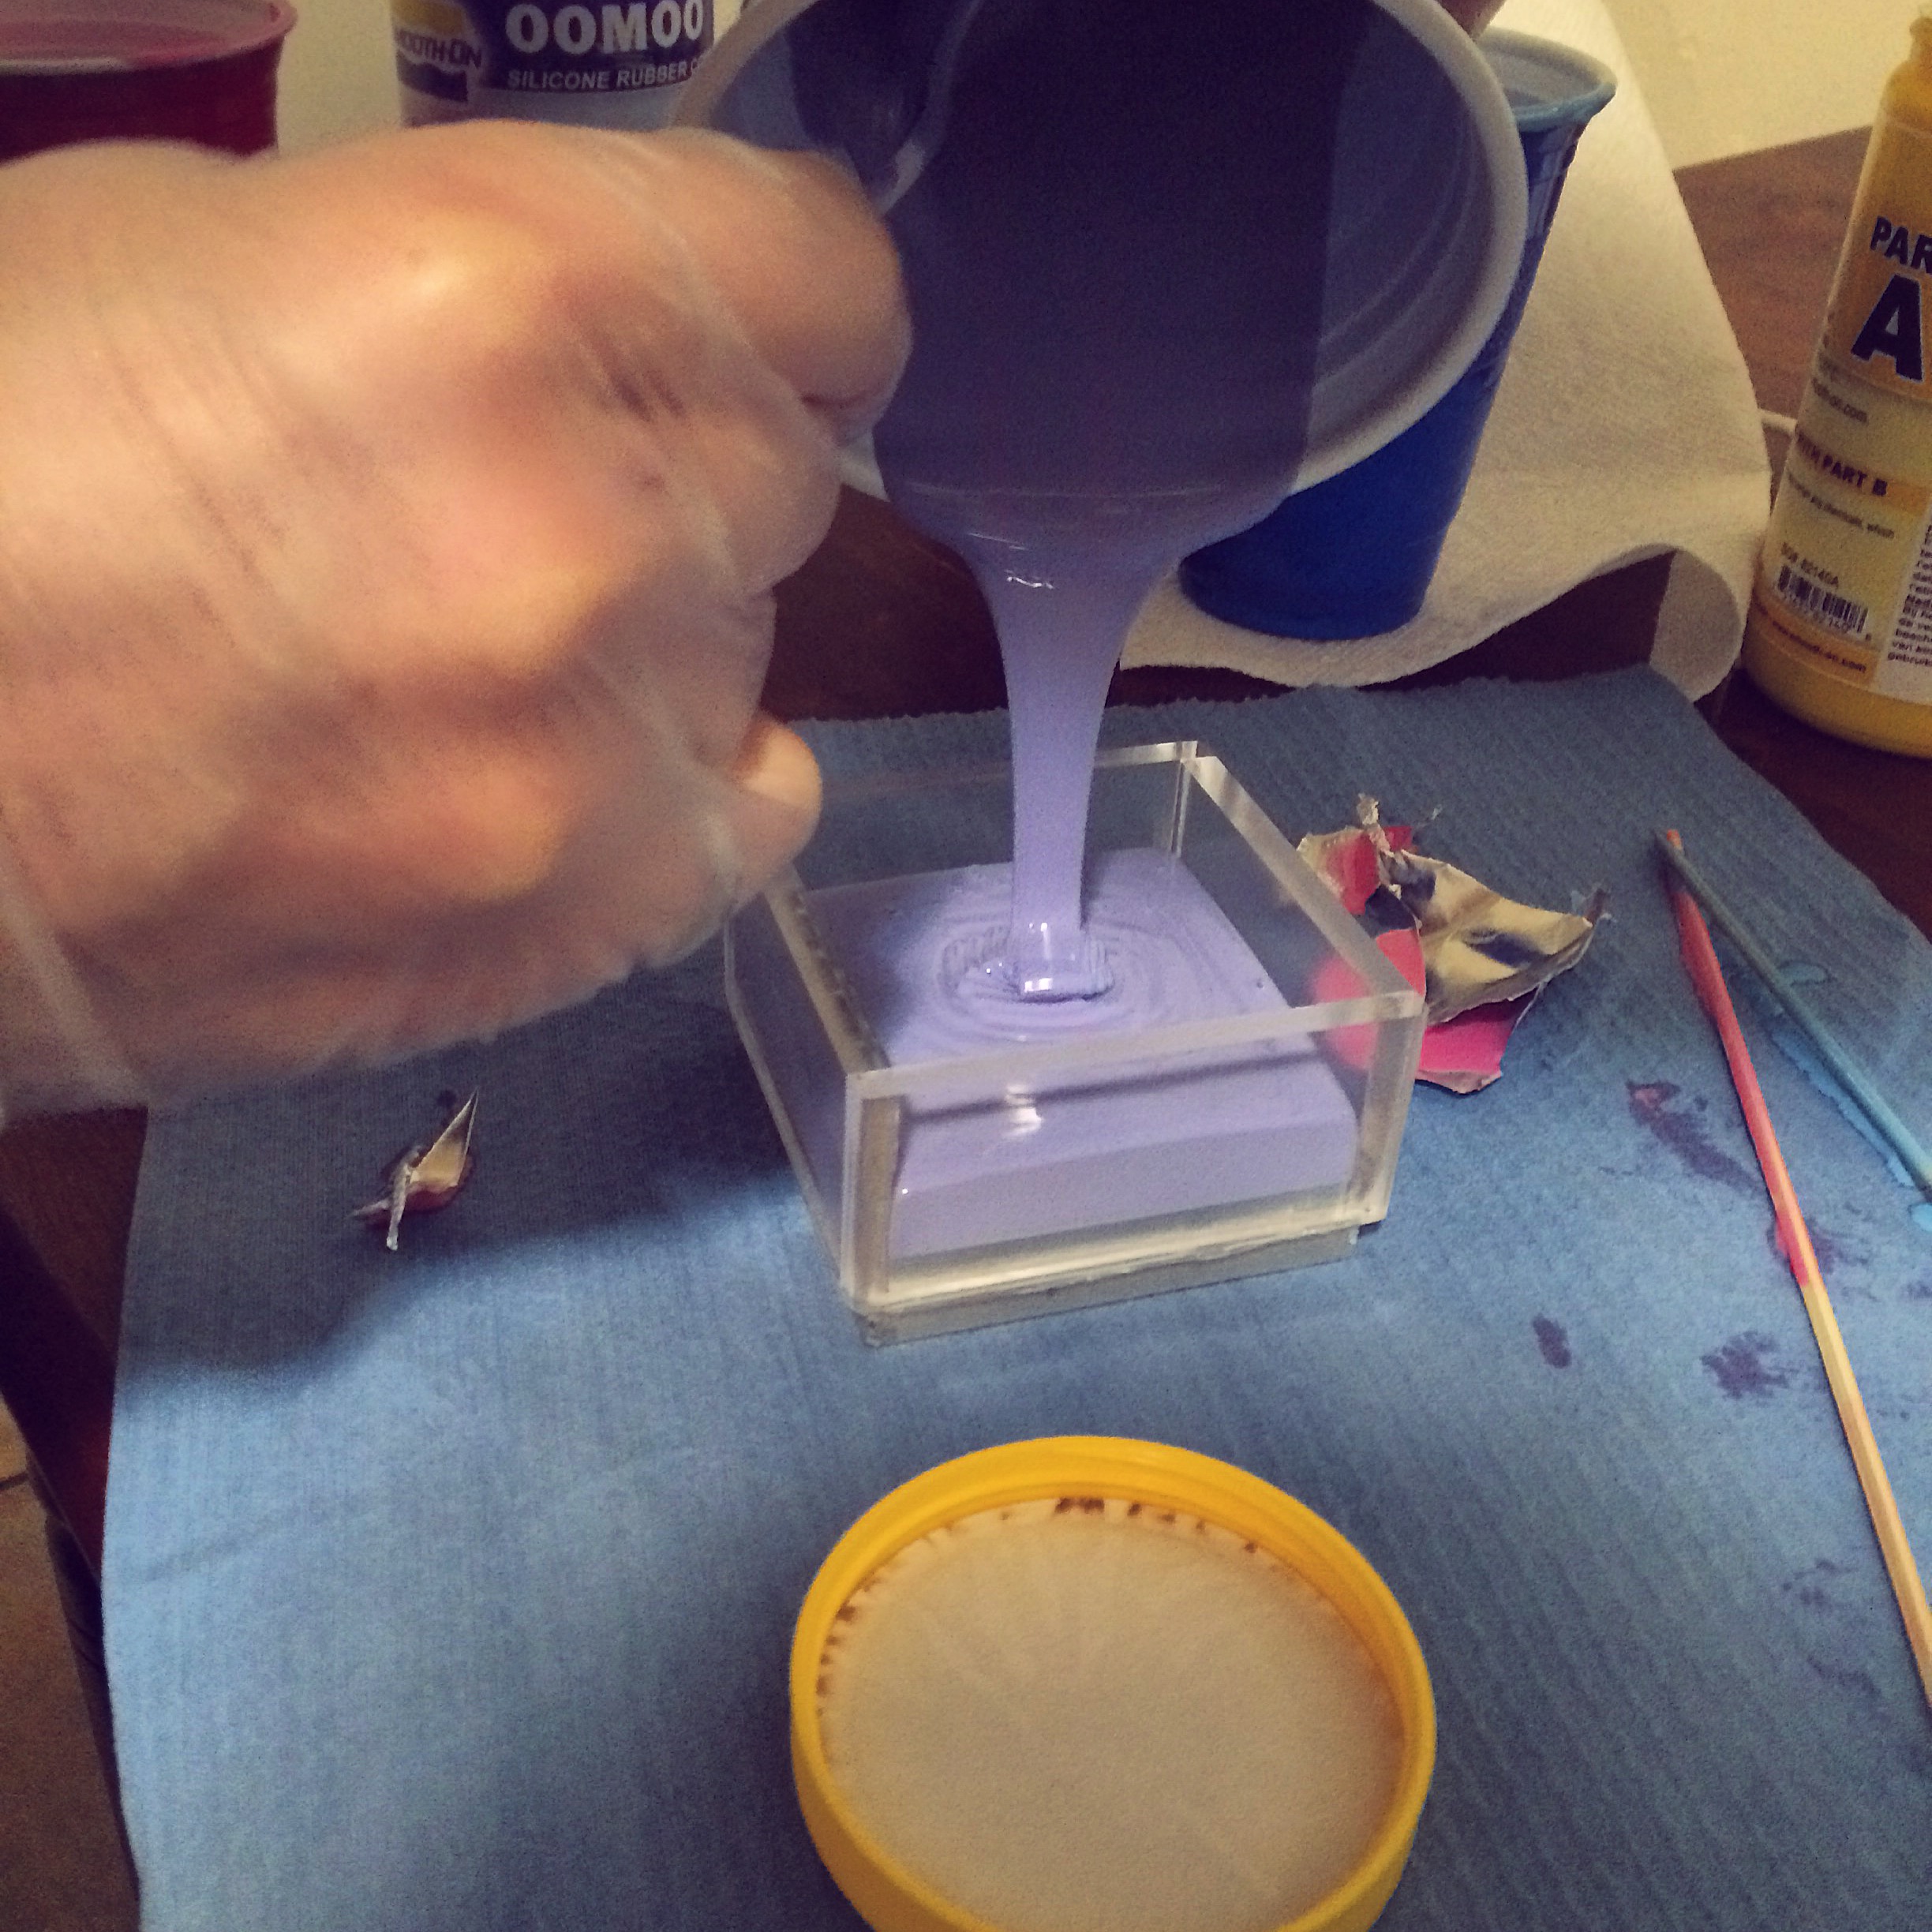
 Pouring into the cavity

Pouring into the cavity

 Now we wait...

Now we wait...

 The finished mold  Materials  I used hot glue to seal the mold cavity  Mixing the media  Pouring into the cavity  Now we wait...

Quantum Dot Lite Brite Pt.3

April 22, 2016

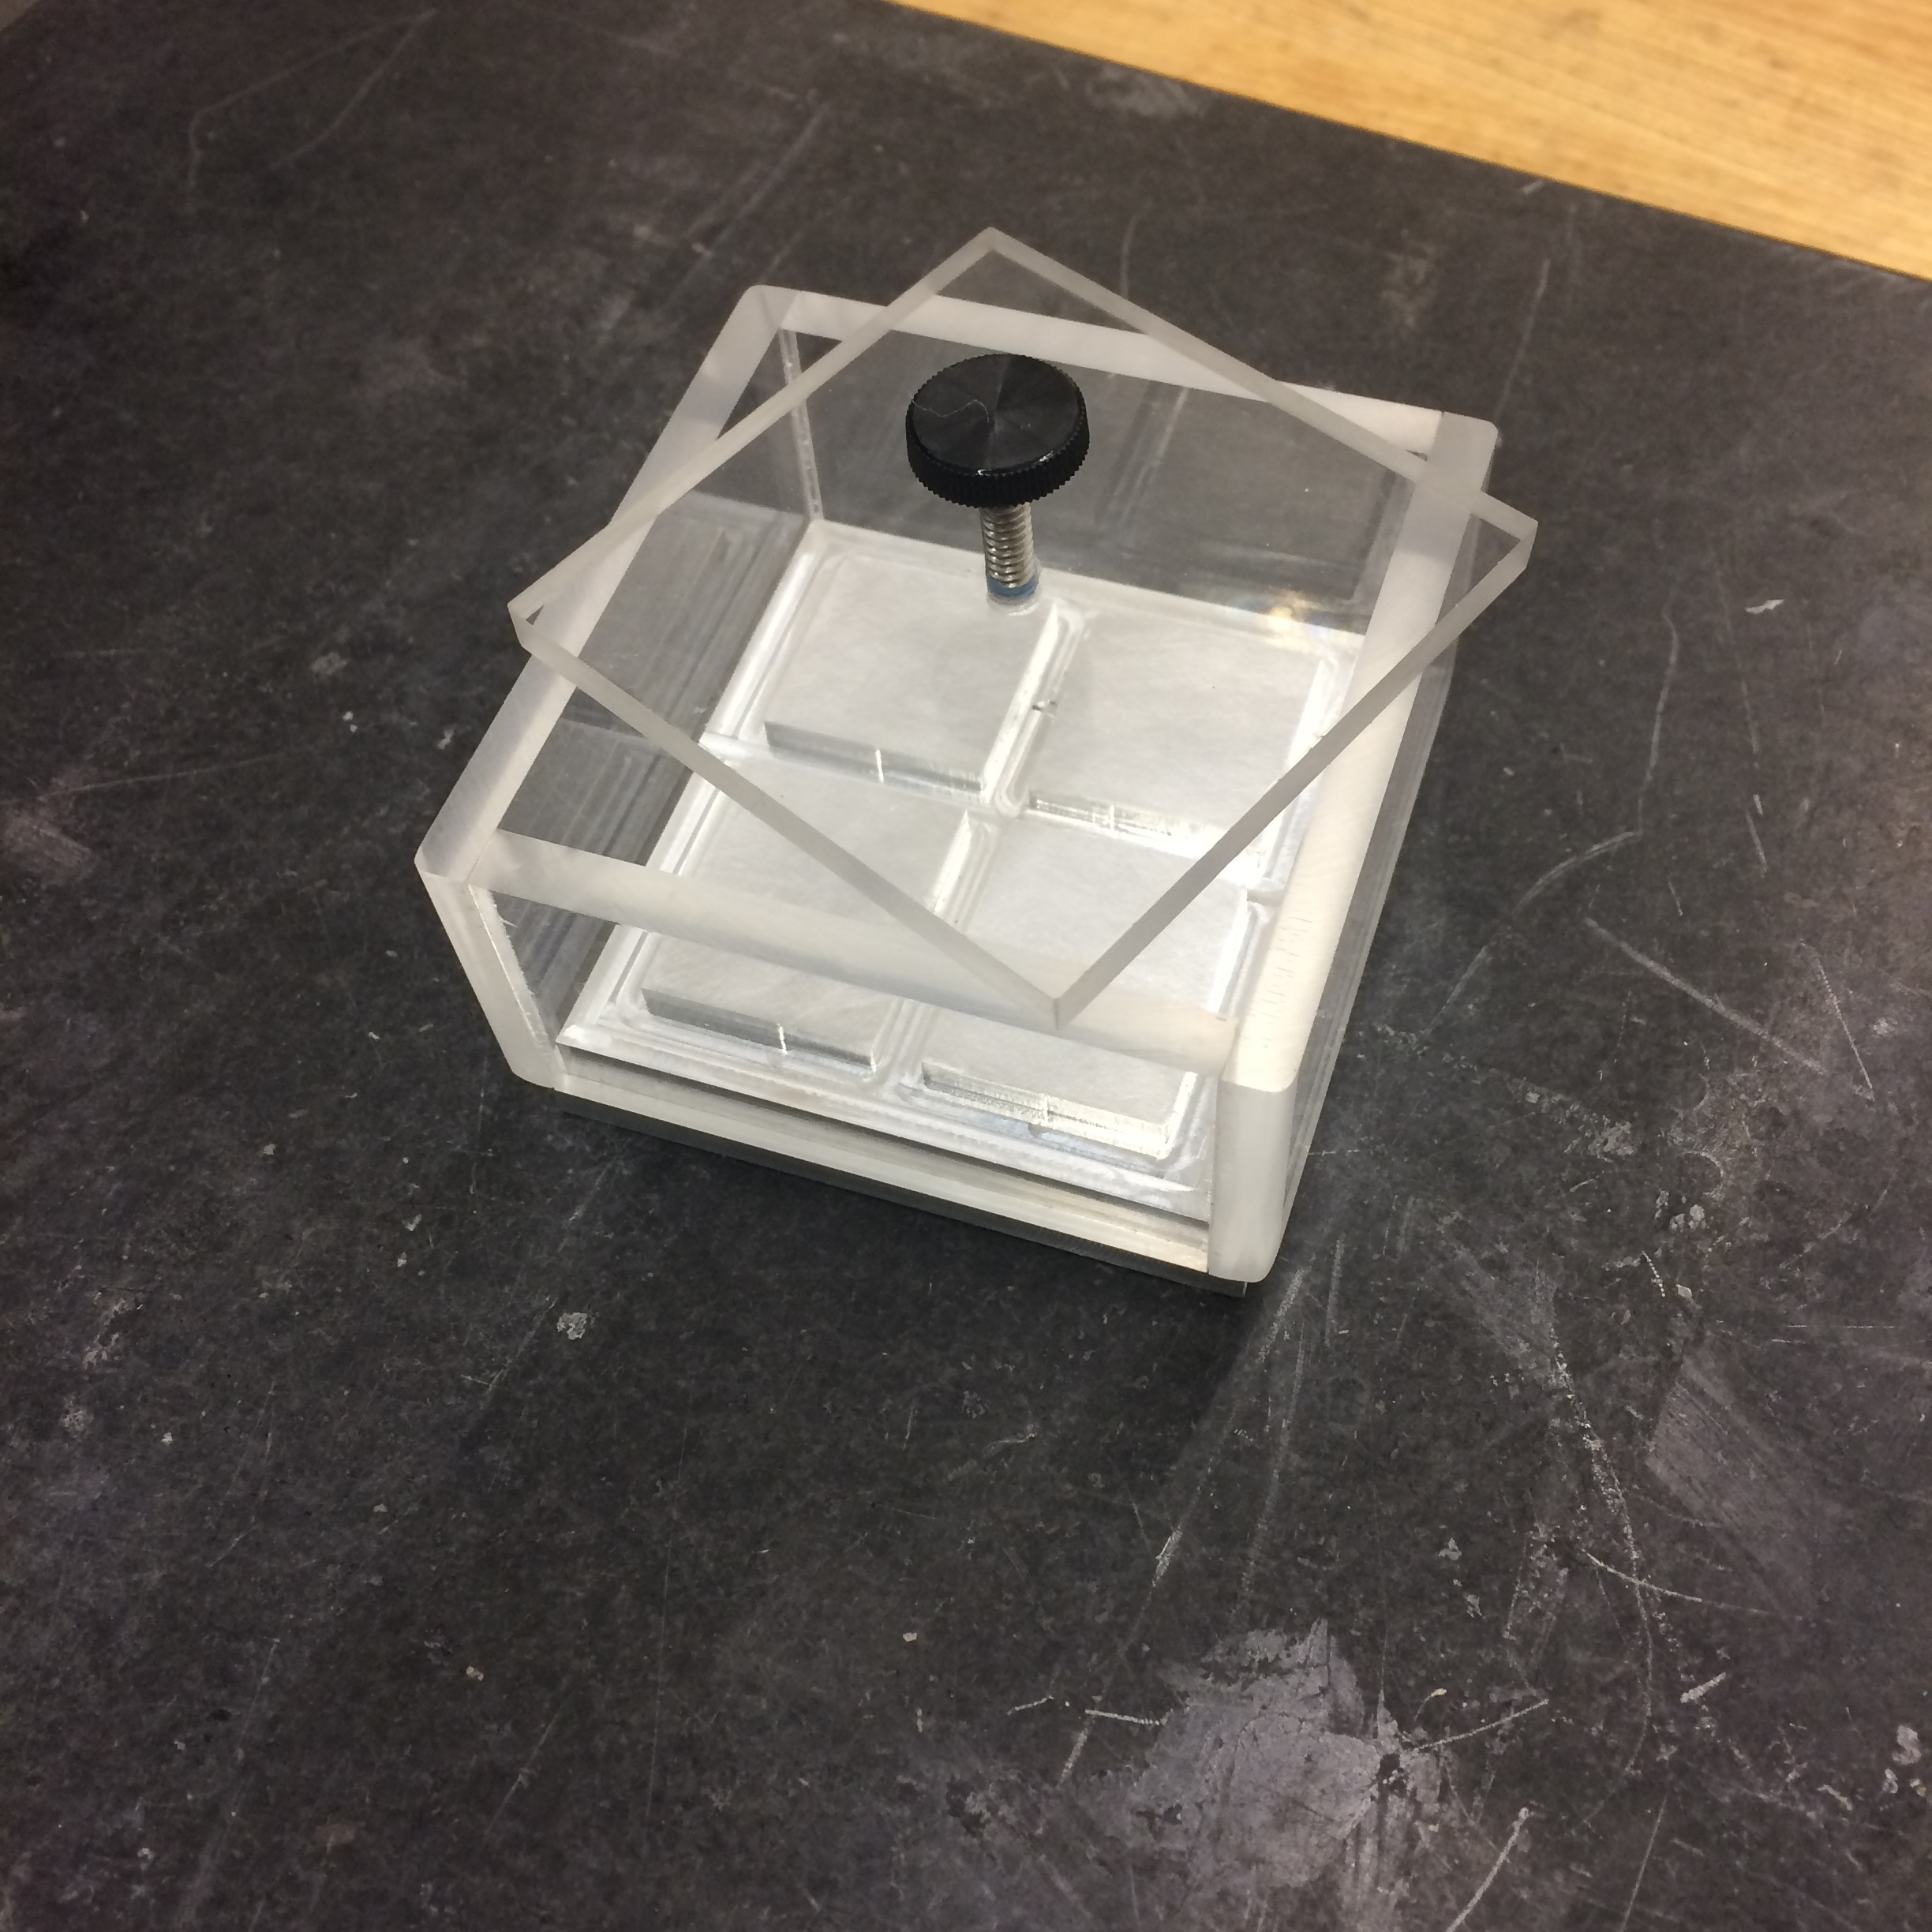
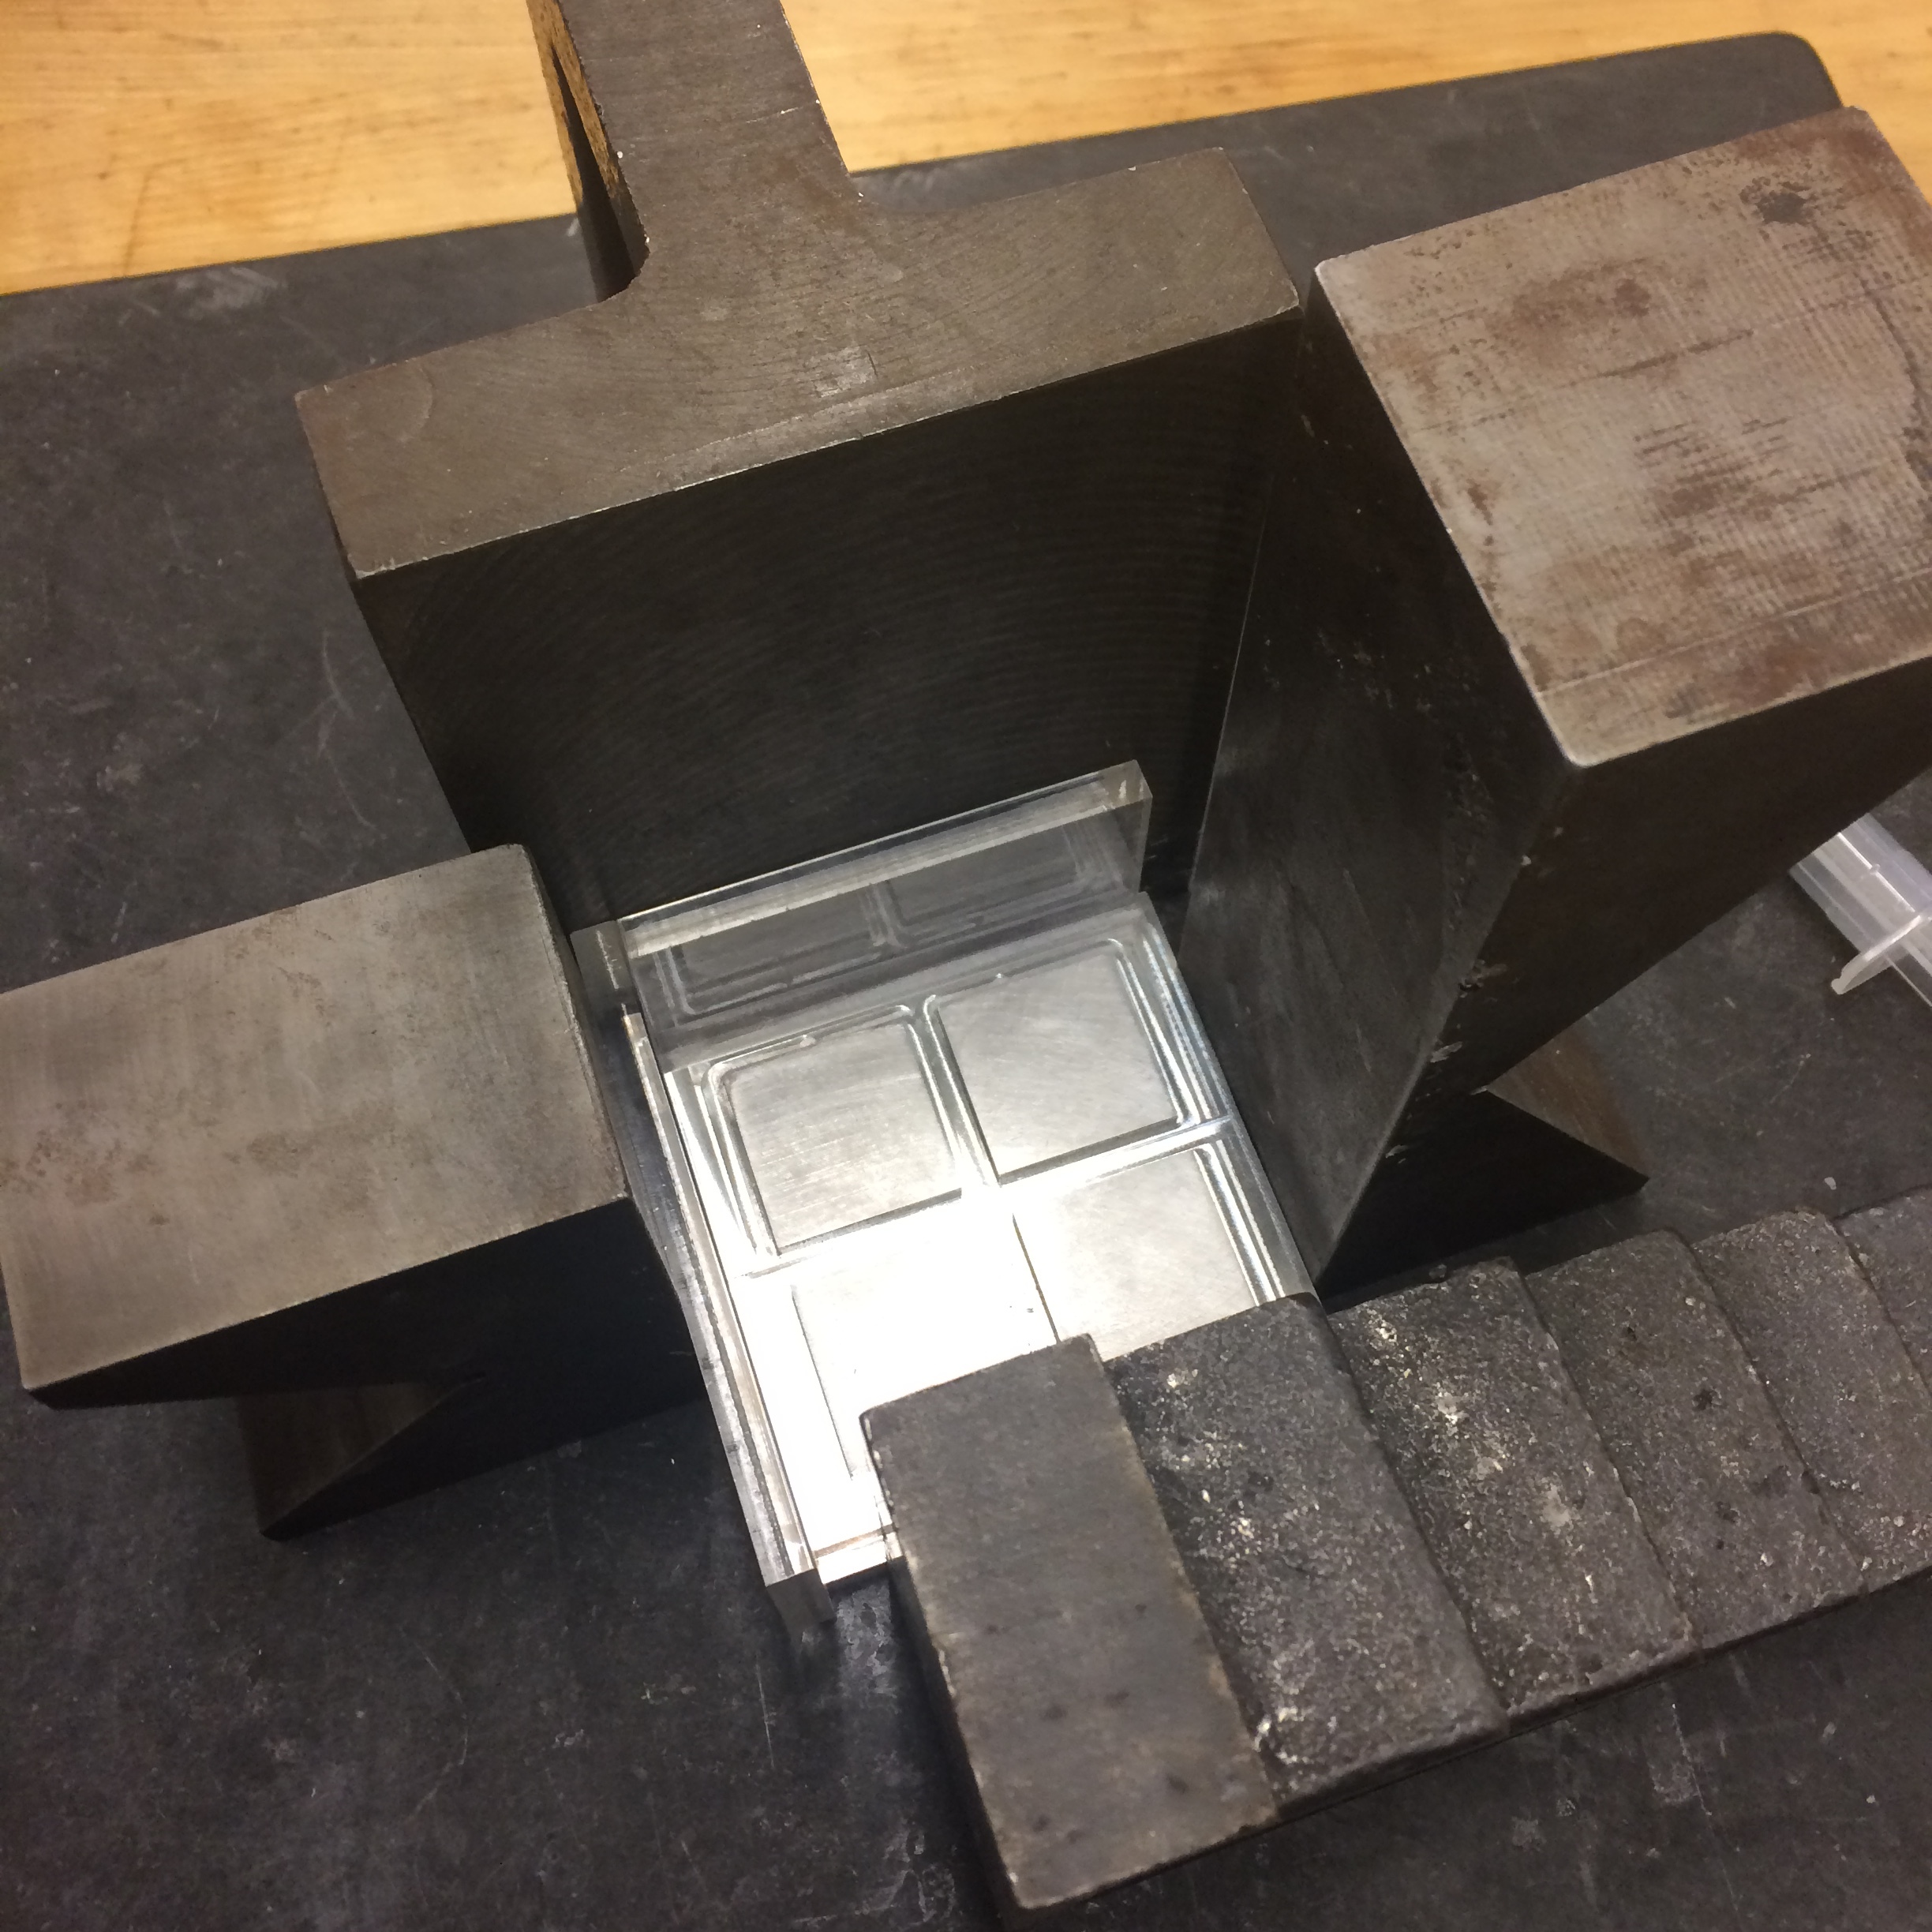
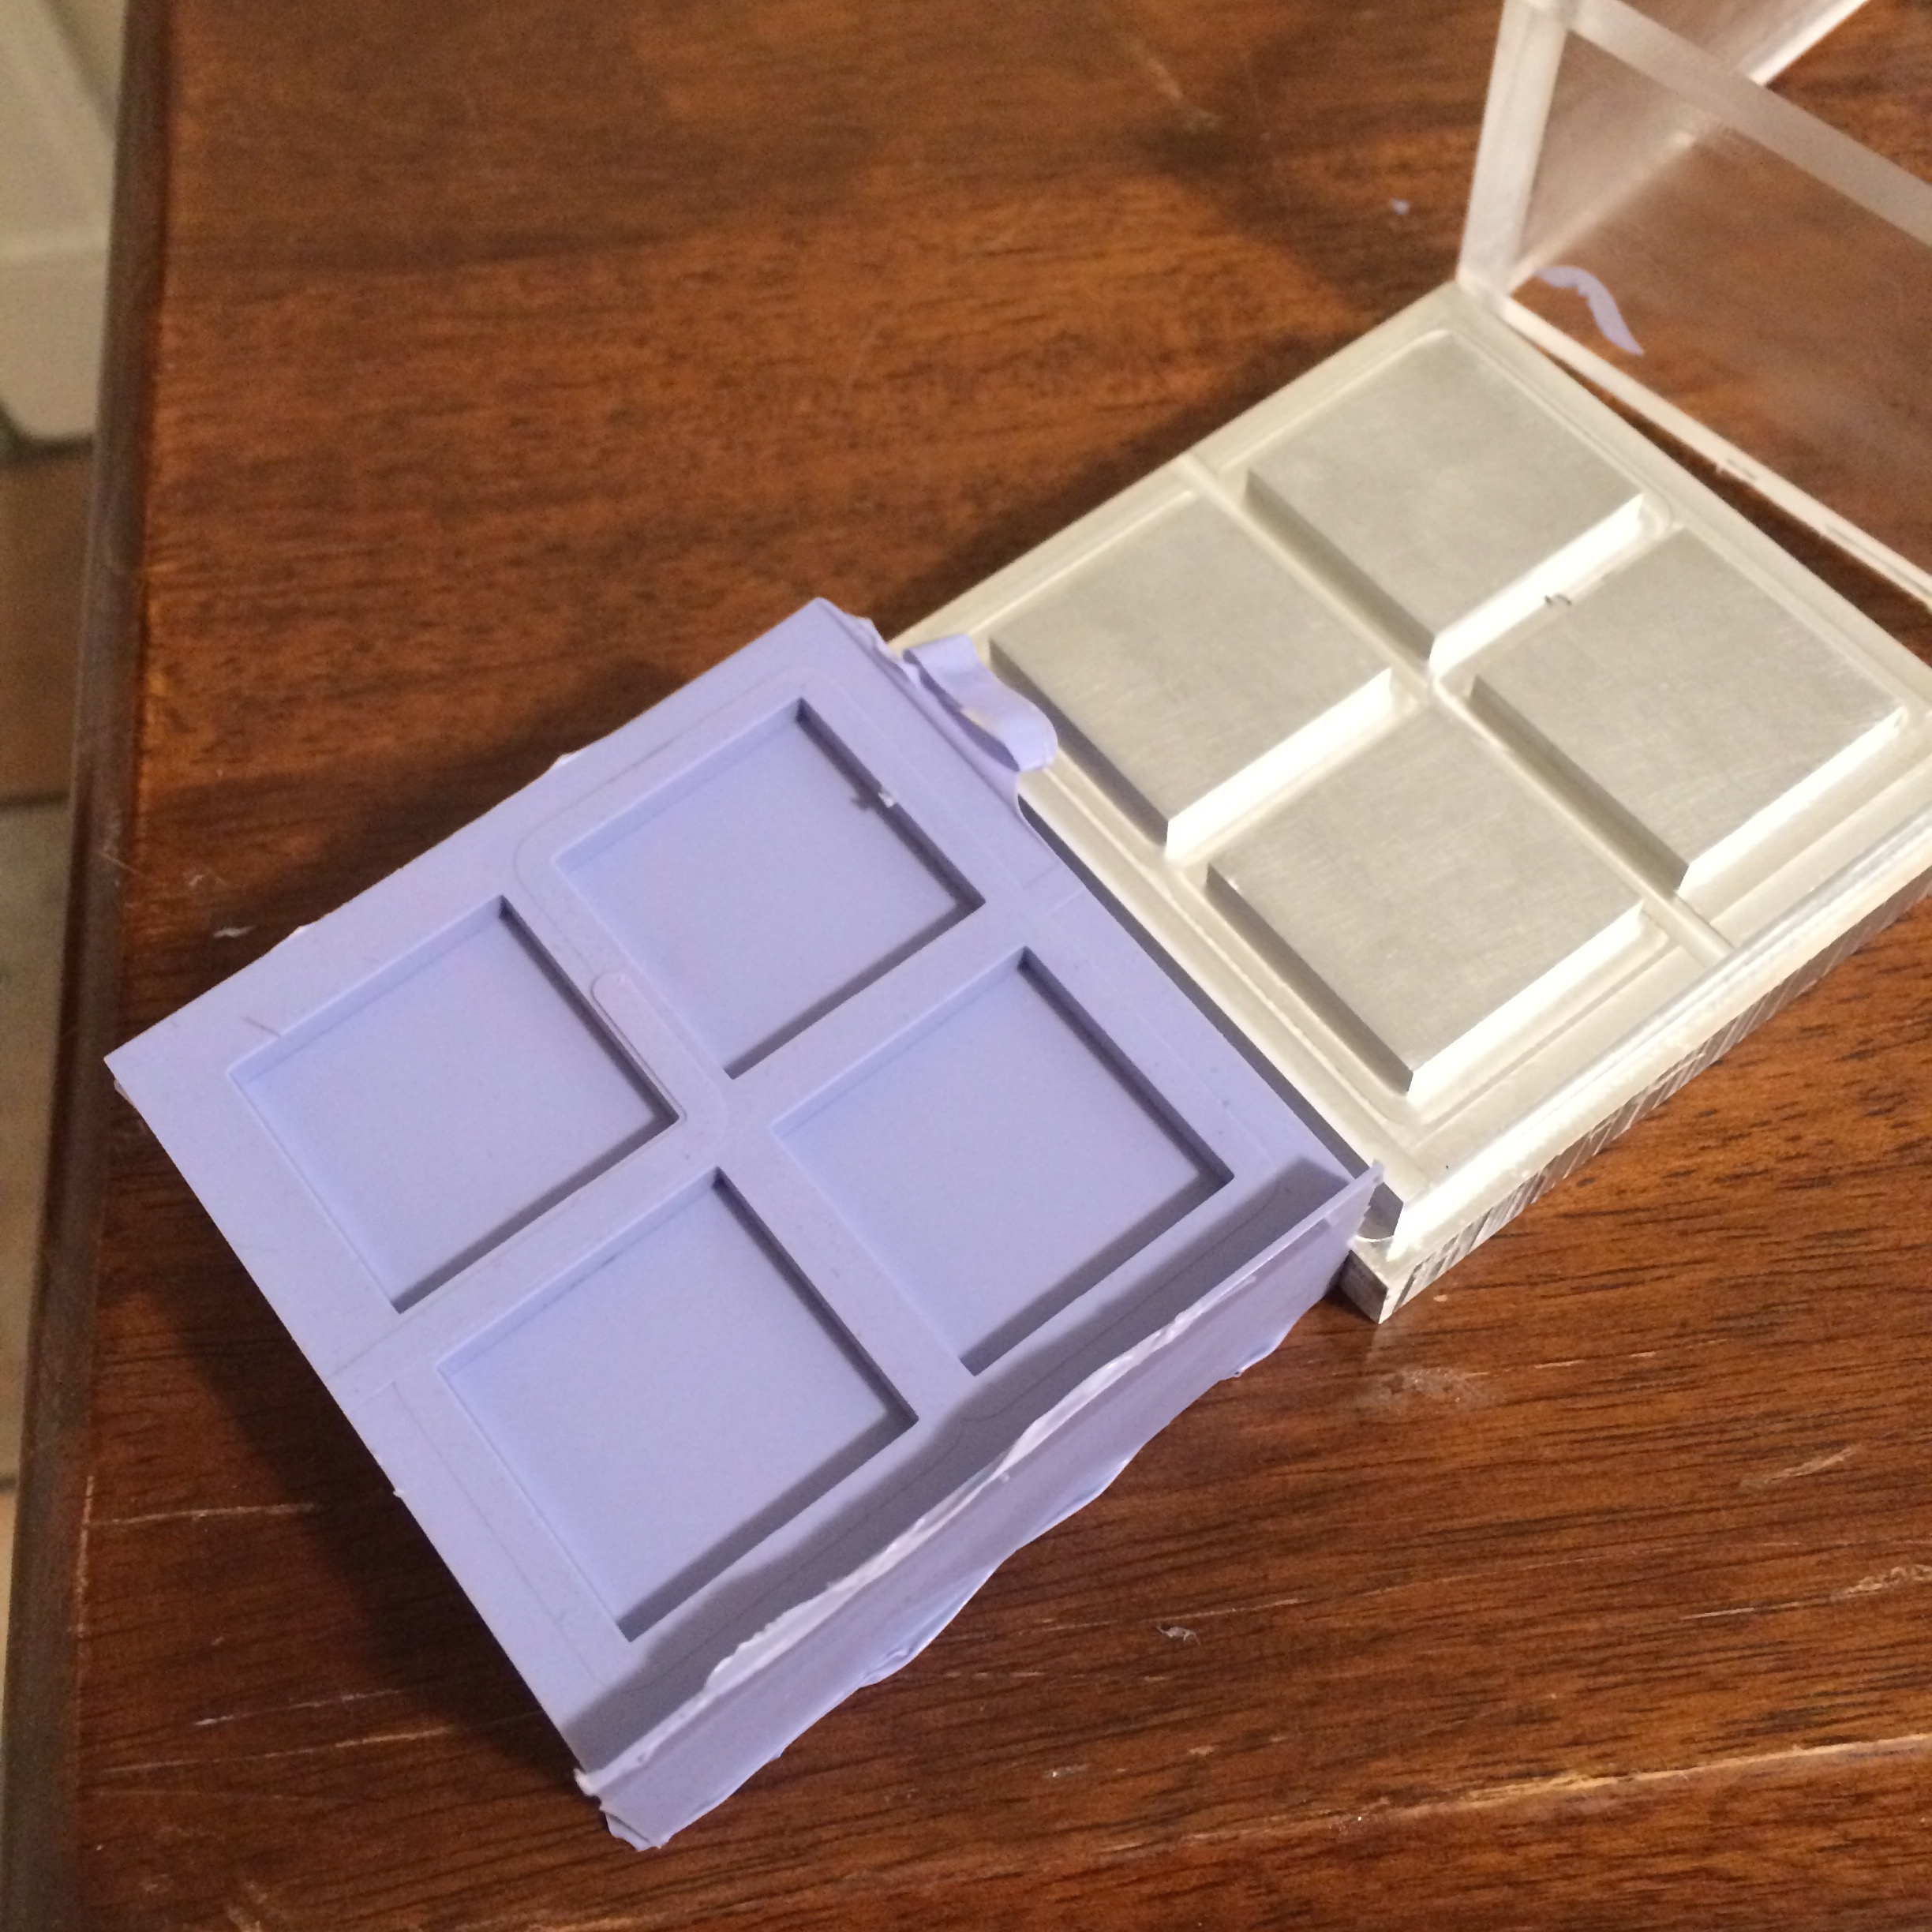
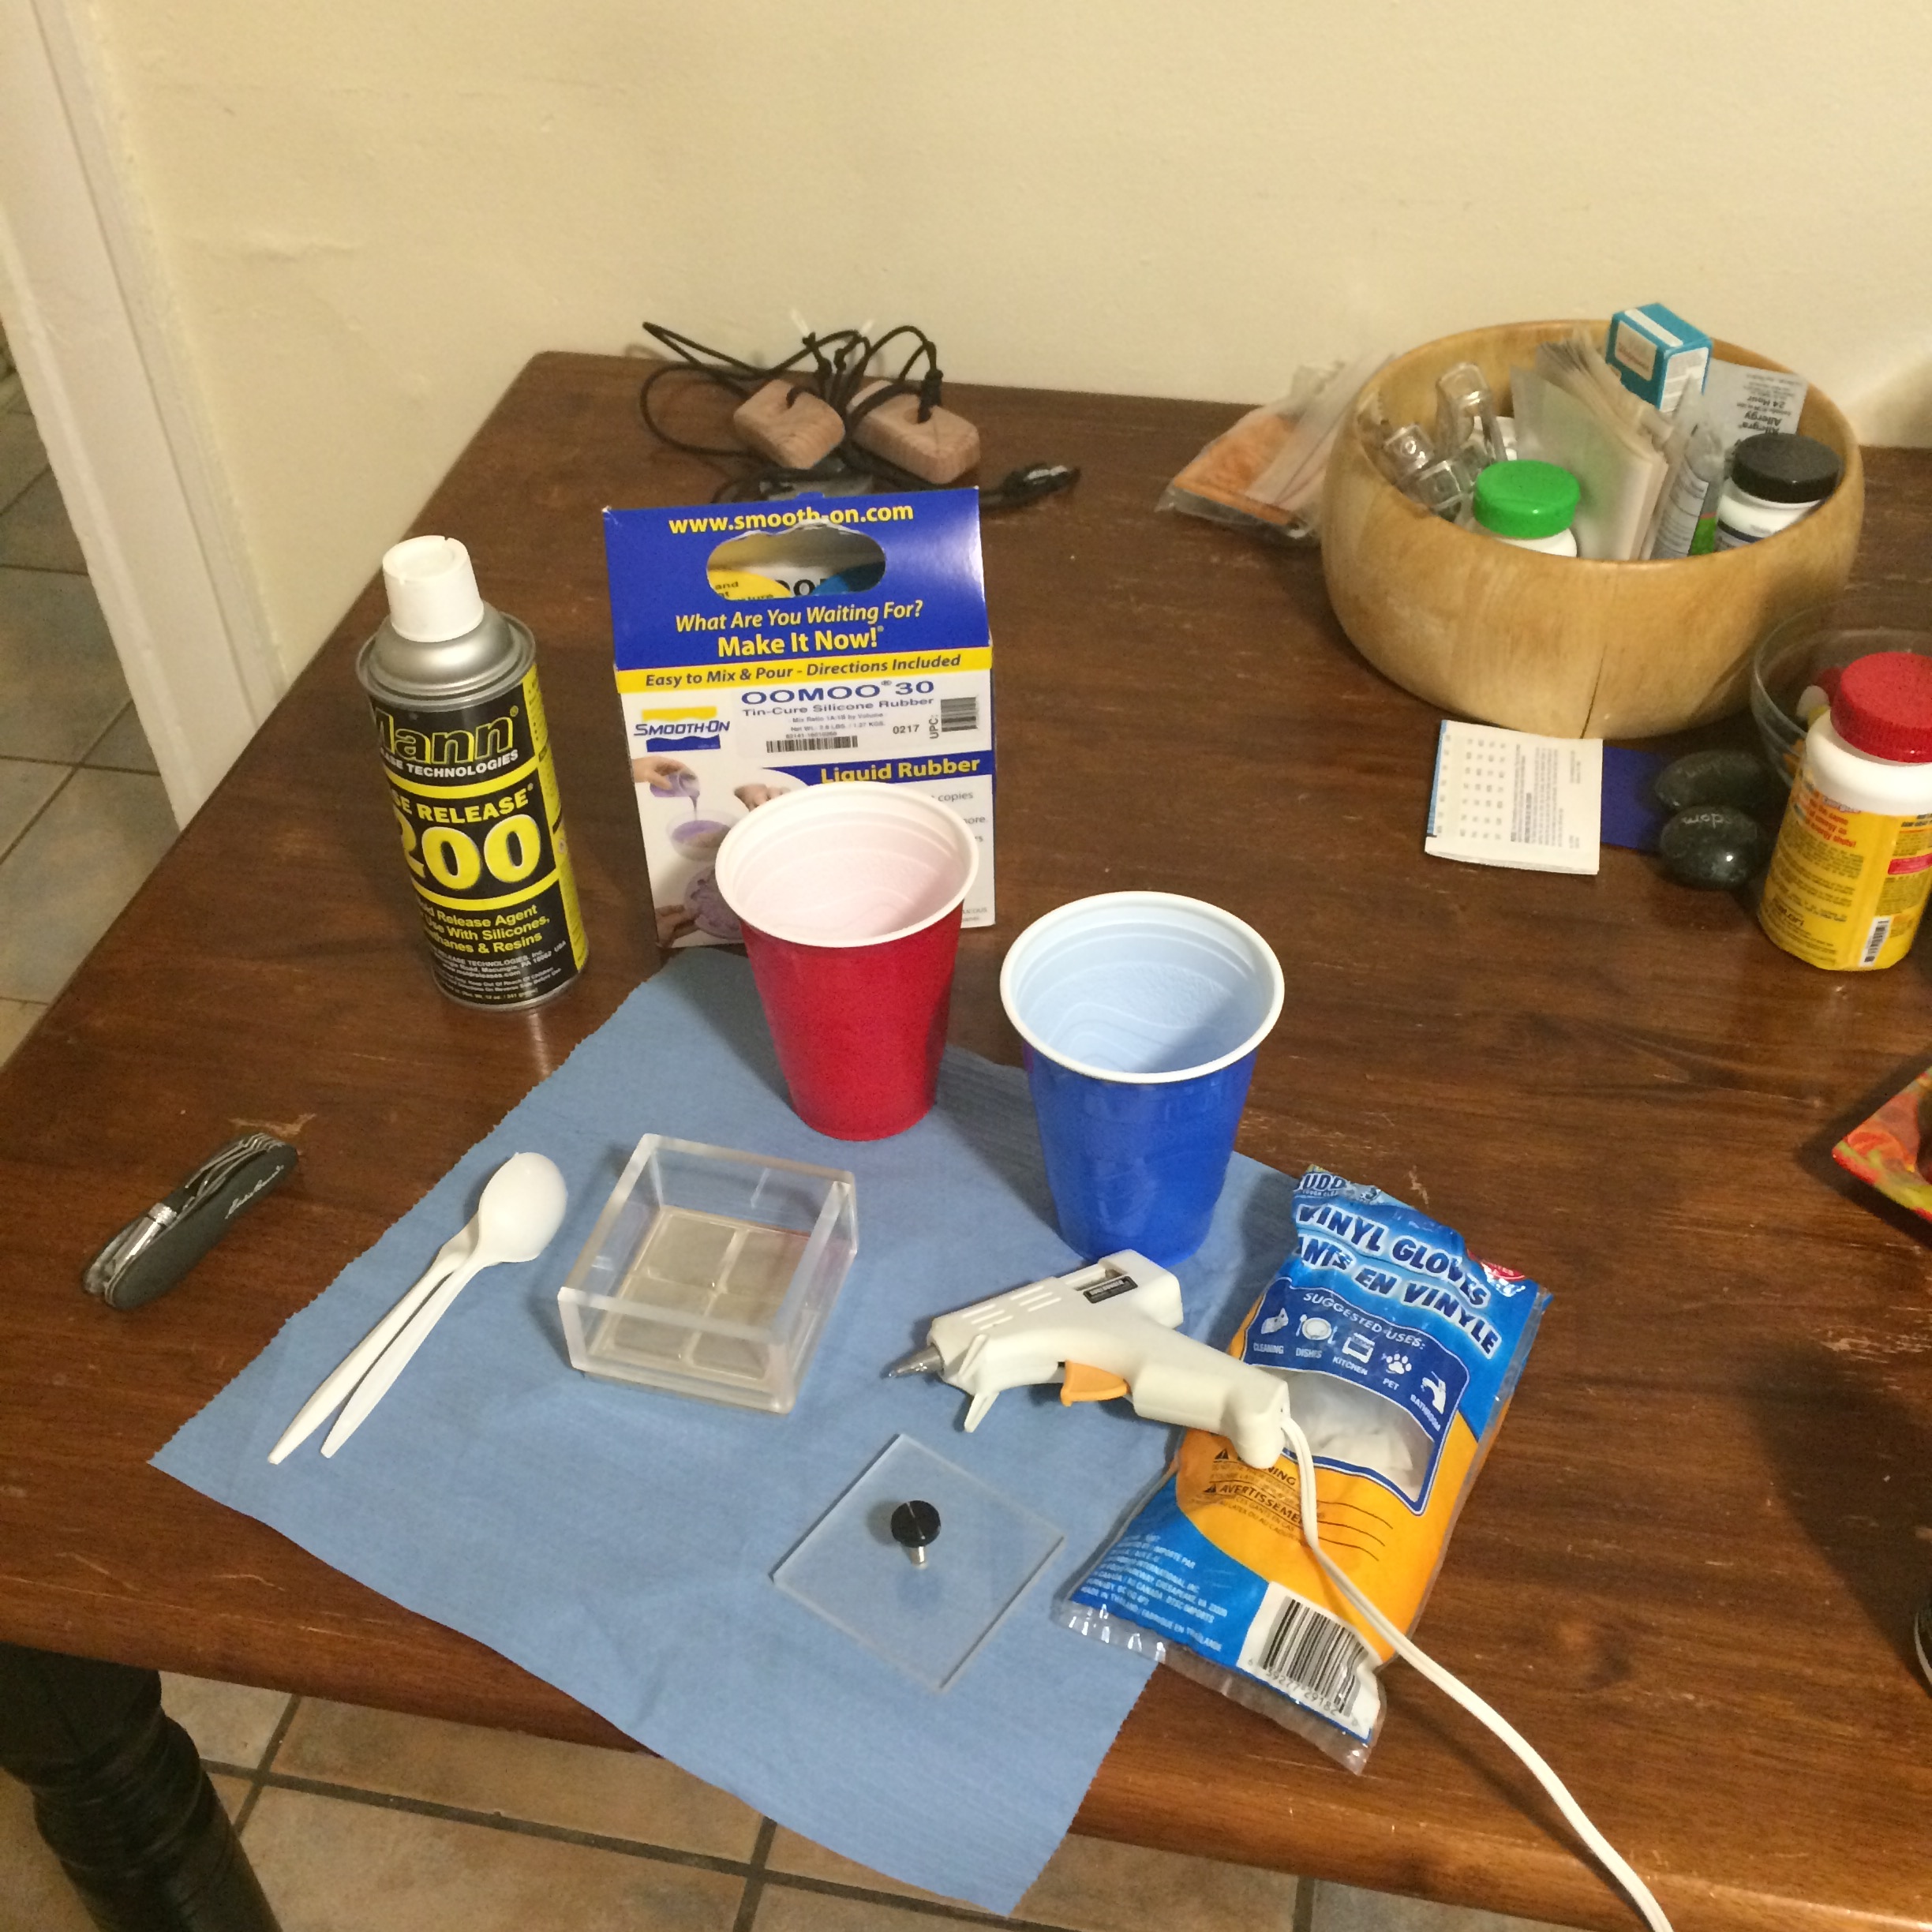
The other day I was able to cast the silicone molding media to make the mold for the QD embedded plastic pieces. The molding media I bought doesn't require a vacuum as I previously thought, so I was able to cast it at home in my kitchen. It is very simple to do as it is simply a 1:1 volumetric ratio. I borrowed some multipurpose mold release from out school's "Tinker" lab, and it seemed to work just fine.

$\setCounter{0}$
In Engineering Education, Machining Projects Tags Molding, Casting, Quantum Dots
Comment
 Ready to cast the mold media. Just need some mold release.

Ready to cast the mold media. Just need some mold release.

 Gluing the box that will become the mold cavity.

Gluing the box that will become the mold cavity.

 Milling the positive from aluminum.

Milling the positive from aluminum.

 Ready to cast the mold media. Just need some mold release.  Gluing the box that will become the mold cavity.  Milling the positive from aluminum.

Quantum Dot Lite Brite Pt. 2

April 15, 2016

The specs for this design have been developed. Recently I've been working on making the molds to cast the QD plastic in. I purchased a tin-cure silicone molding media which meets the temperature requirements of the vacuum oven the plastic will be cured in. I selected tin cure over platinum cure because we have access to a vacuum chamber to de-gas the molding media as it cures, and it's a bit cheaper than the platinum cure. It also works with a wider variety of materials. The library life is not as long as the platinum cure, but that is not really a concern for this application.

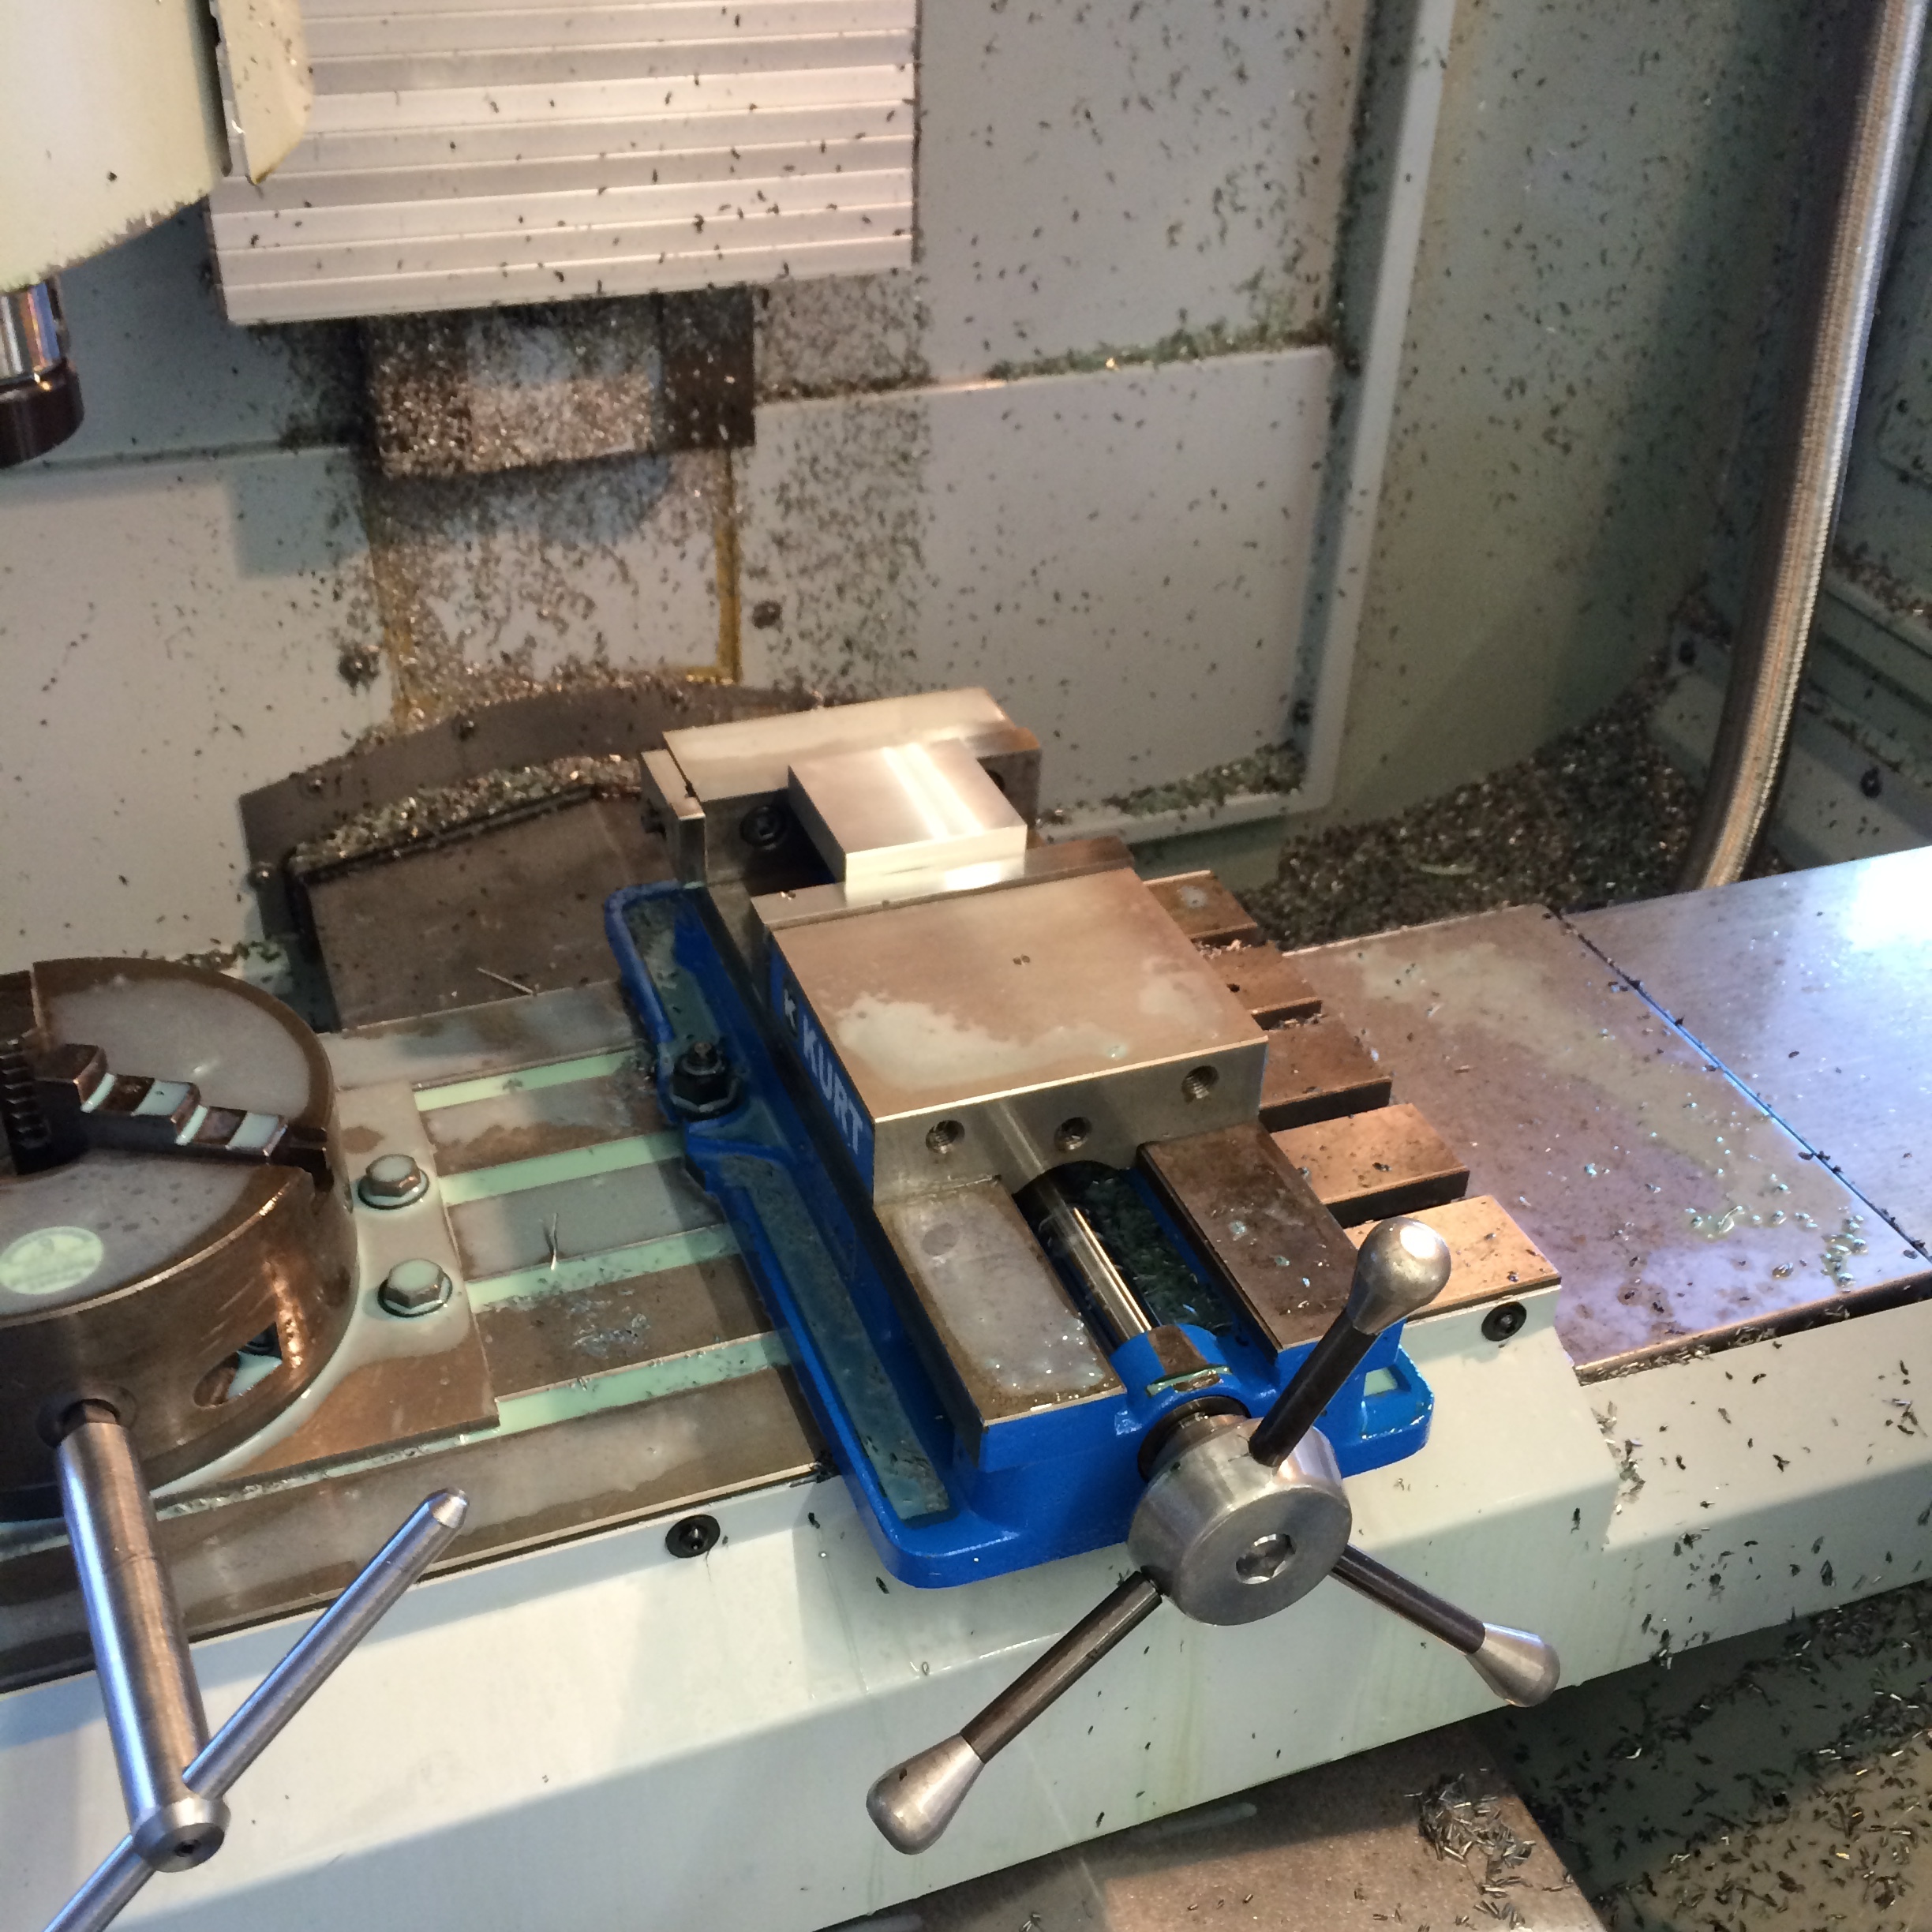
I milled the positive for the mold out of aluminum. I then lasercut some acrylic to form a cavity around the positive in which to cast the mold media which will become the negative. The result will be a simple open faced mold. If the results from this mold are no good, we may try a 2 part mold, but I think a 2 part mold would be overkill for this part. 

Up Next:

  1. I have a design for the box, but I need to make sure it can be made with an efficient use of materials, and easy to assemble, as we will be making many of these devices.

  2. I need to further embody the electrical design by selecting a UV source. I am having trouble designing a UV LED array that meets the light intensity requirements to activate the QDs while being at a reasonable cost. The UV LEDs are quite expensive, and I'd need a lot of them. I'm considering reverting to a fluorescent source if it turns out to be cheaper.
$\setCounter{0}$
In Engineering Education, Machining Projects Tags Quantum Dots, Design, Molding, Casting, Machining, CNC
Comment

Blogpost Search

Blogposts by Category

Select Category
  • Academic Projects
  • Aviation
  • BreakerBot
  • Engineering Education
  • Illusionist's Locket
  • MATLAB Projects
  • Machining Projects
  • Personal Projects

Archive

  • May 2024
  • December 2019
  • November 2019
  • September 2019
  • April 2017
  • January 2017
  • August 2016
  • May 2016
  • April 2016
  • March 2016
  • February 2016
  • January 2016
  • November 2015
  • October 2015
  • June 2015
  • April 2015
  • February 2015
  • January 2015

Copyright © David Miller 2019